Single Sign-On
Single sign-on(SSO) allows your team members to log in to their accounts. Appcircle supports both OpenID and SAML Identity providers.
Only Enterprise accounts support SSO.
Enable SSO
SSO can only be enabled by the organization's administrator. To start, go to My Organization Integration screen and press the "Enable Login" button under the "APPCIRCLE LOGIN" section.
Identity Providers
Appcircle supports both OpenID and SAML Identity providers. You can follow the below documents to connect your identity providers. If your Identity Provider is not on the list, you can follow any OpenID or SAML integration guide from the below list to find out the parameters.
Two-factor authentication (2FA) can only be enabled by your SSO provider. Please check their documentation to learn how to enable it.
Testing SSO
- When you connect your Identity Provider, please open a new incognito window and test the SSO integration.
- Click the Continue with SSO button.
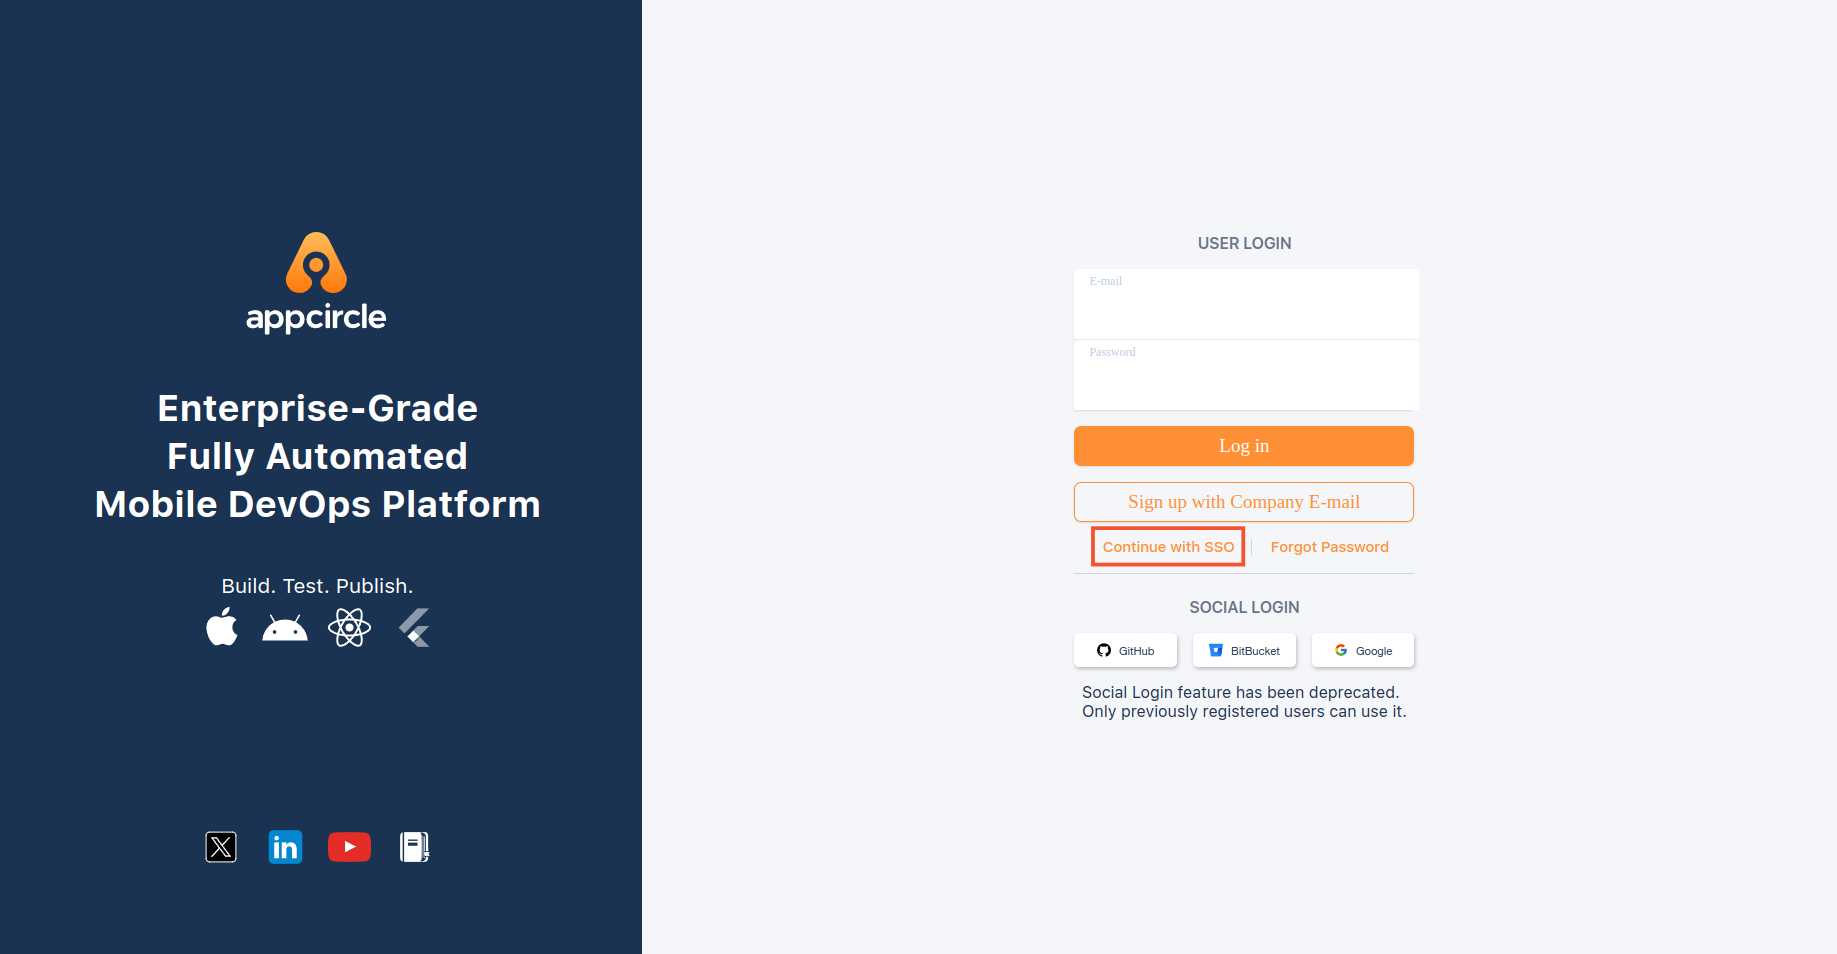
- Enter the alias you picked.
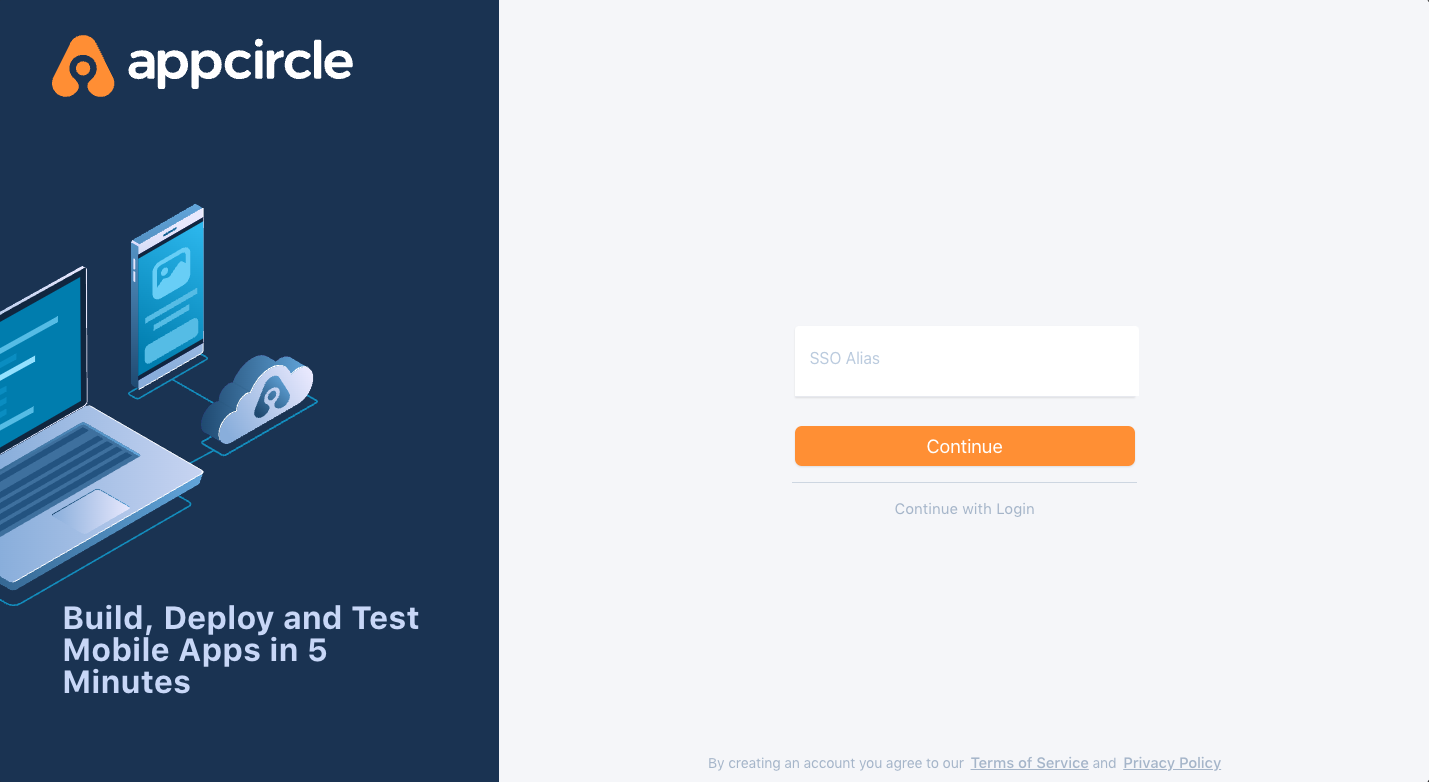
- You should first see the below confirmation screen.

- After you confirmed account linking, you will get an email.
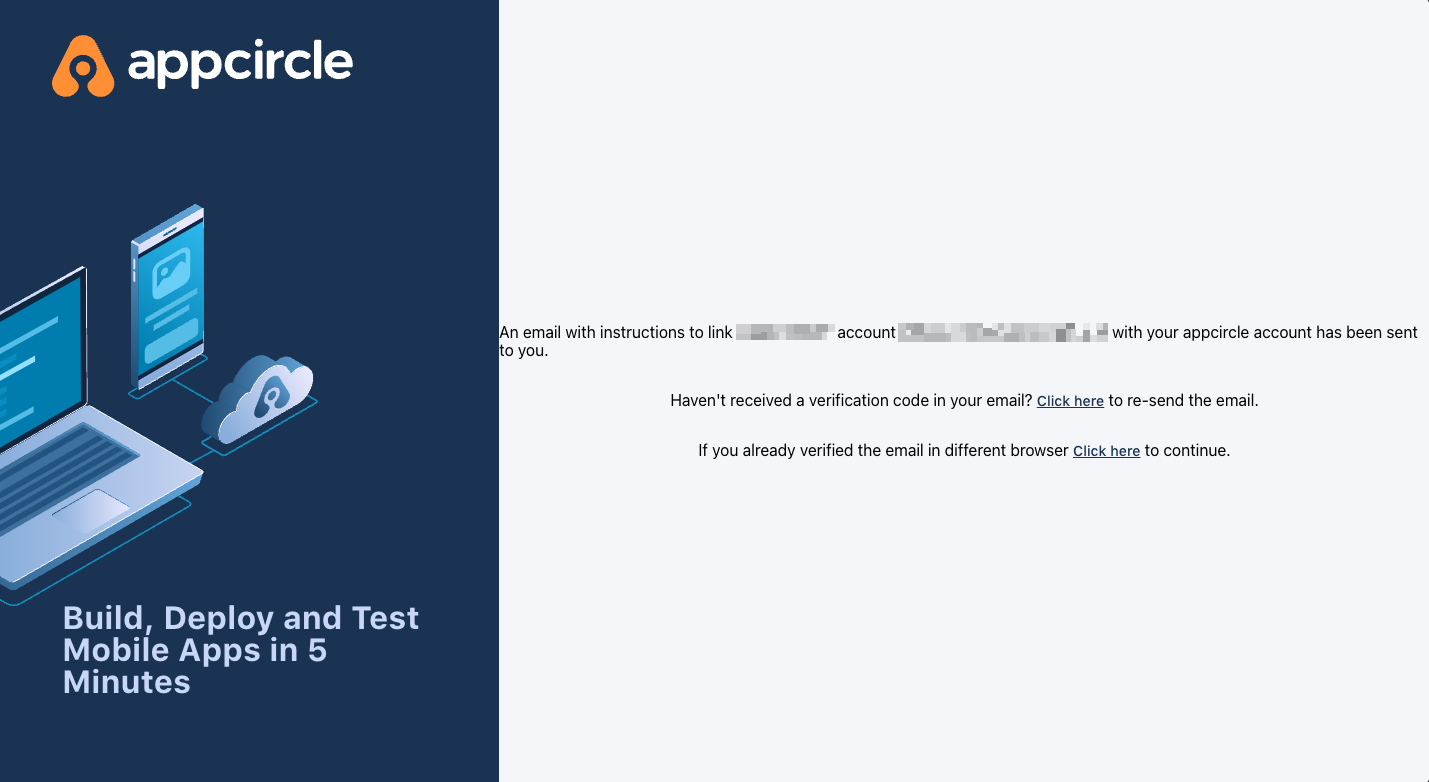
- You can now access your account with SSO integration when you confirm the email.
- After you enable the SSO, you can only log in to your account with the SSO link. Your old credentials won't work anymore.
Child organization can't enable SSO.
When you connect your Identity Provider, please open a new incognito window and test the SSO integration. Please only log off when you can log in with SSO credentials. If the connection doesn't work, you need to review your settings.
Inviting a User to the Organization
If you configure the SSO settings and ask a user to join the organization, an email will be delivered to the user's inbox.
The invitation link in the email will send the user to the SSO login page immediately. As a result, the user will not need to click the SSO button and input their SSO alias.
SSO Login Direct Link
If you wish to log in to the Appcircle dashboard directly using the integrated SSO you set up for your company, you can use an auto-redirect URL.
Below is the URL template for direct login with SSO for Appcircle Cloud.
https://my.appcircle.io/sso/${SSO_ALIAS}
For example, if you configured an SSO and your SSO alias in the Appcircle configuration is spacetechsso, you should use the URL below to log in straight to the SSO:
https://my.appcircle.io/sso/spacetechsso
Notice that the name spacetechsso in the SSO URL above is the SSO alias. You should replace it with your own SSO alias and use it.
If you are a self-hosted Appcircle user, you can use the same method too. The only difference will be in the URL.
If you're using https://my.appcircle.spacetech.com to access the Appcircle dashboard, for instance, your SSO direct login URL should be
https://my.appcircle.spacetech.com/sso/spacetechsso
After you enter the SSO login URL specified above, you should be redirected to the SSO login page directly or to the Appcircle dashboard if you have already authenticated with the SSO.
SSO Mapping
SSO mapping in Appcircle allows you to map user groups and roles from your Identity Provider to your Appcircle organization.
This feature eliminates the need for manual configurations such as inviting users to the organization and assigning roles. Users will be assigned to organizations with the appropriate roles based on the mapping configuration when they log in using SSO.
This guide provides a step-by-step approach to setting up and managing SSO mappings.
SSO and Identity Provider Configuration
First, ensure you have a proper SSO configuration, either OpenID or SAML, and define the configuration for SSO Mapping to specify how to retrieve user groups and roles.
You can refer to this documentation..
Accessing SSO Mapping Settings
- Navigate to the Organization section on your dashboard.
- Select the Integrations and click on the Appcircle Login.
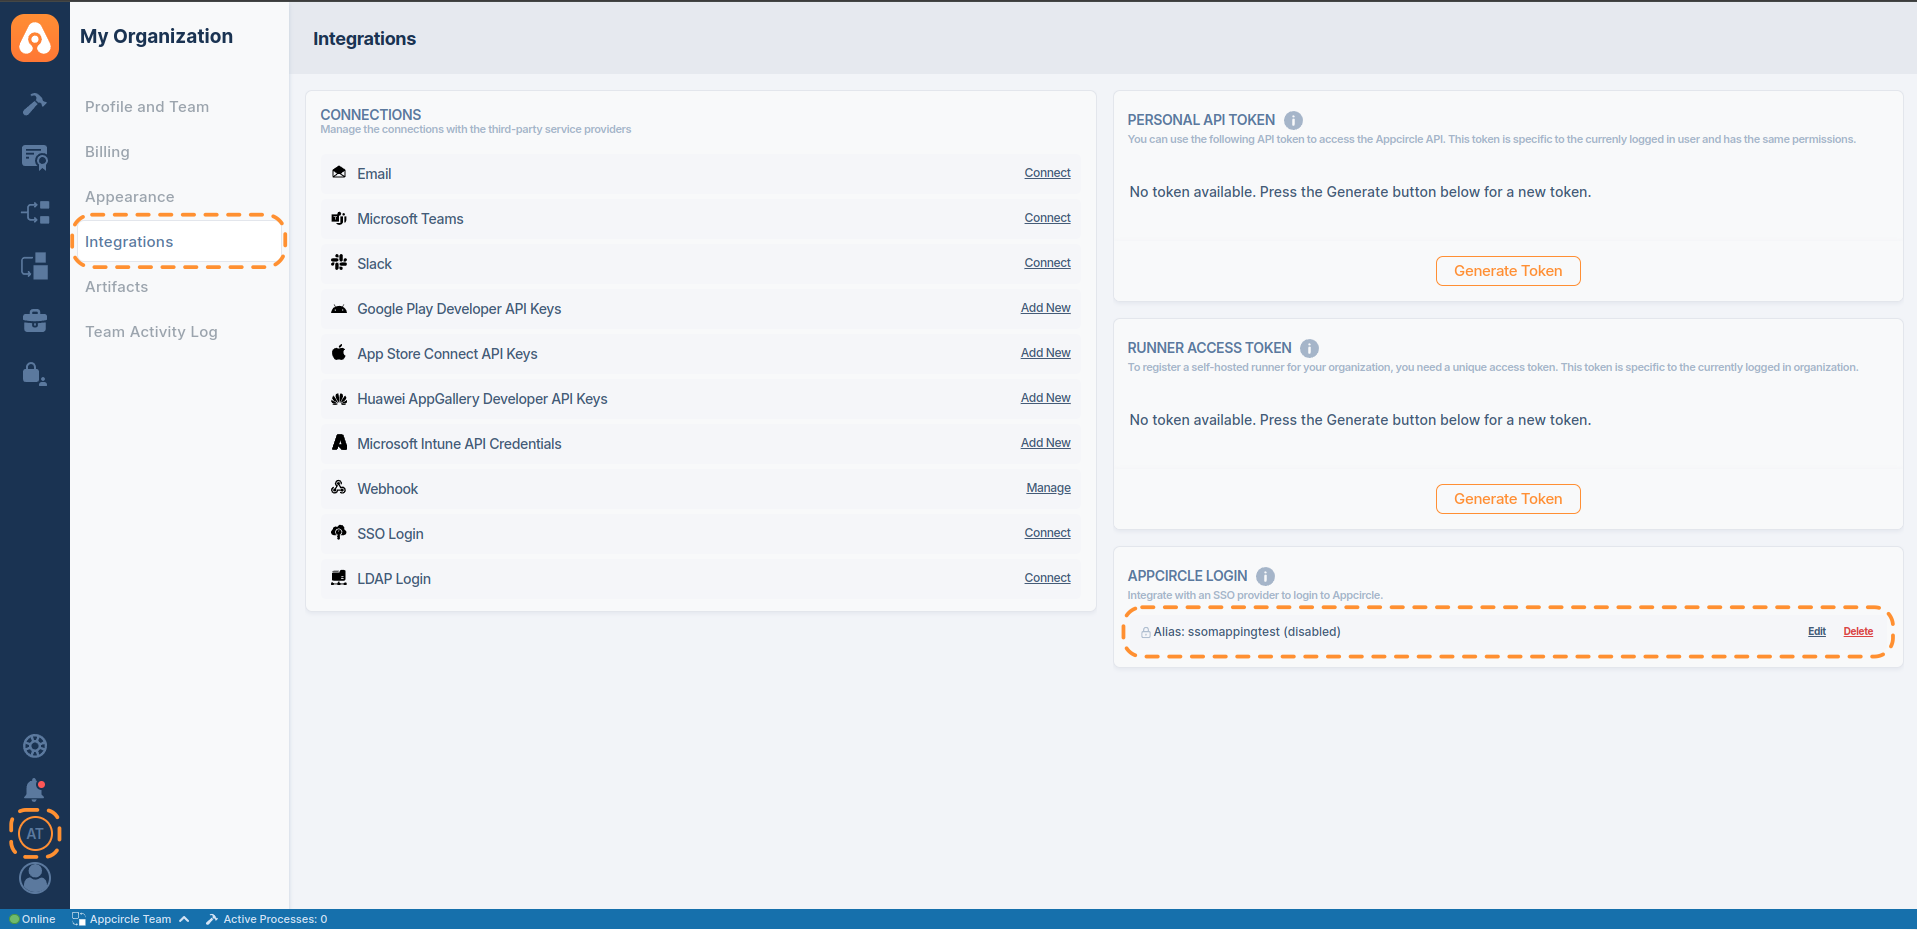
- Click on the SSO Mapping.
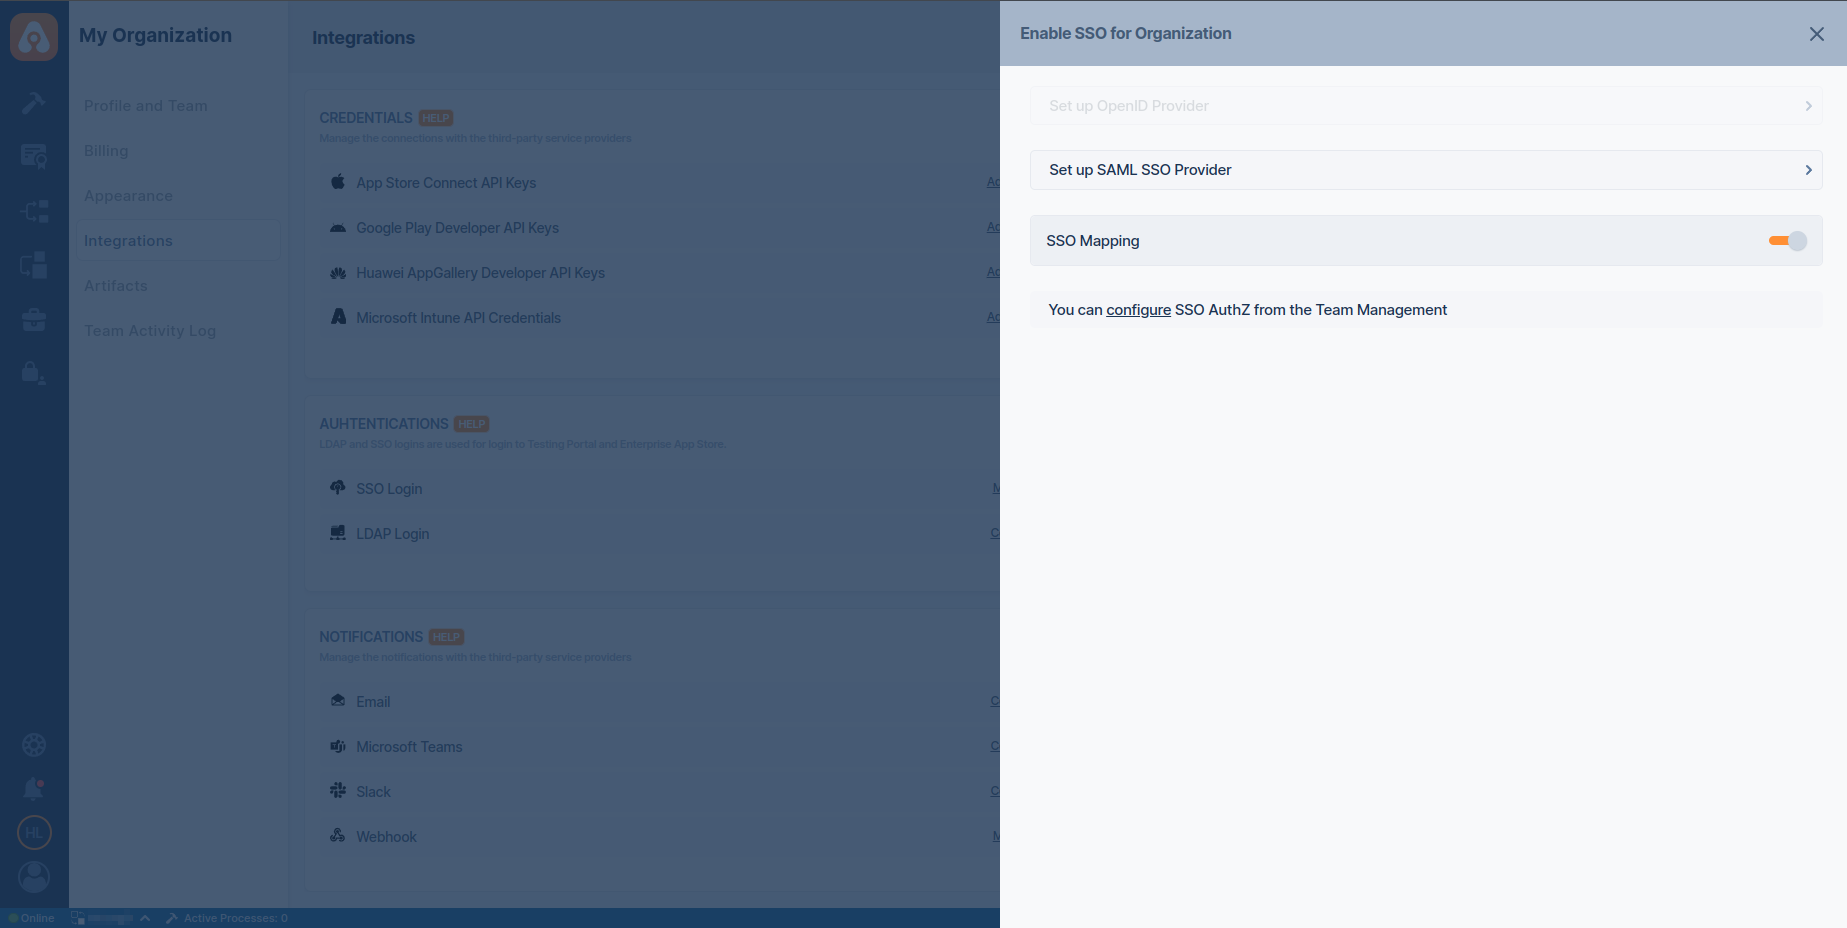
Group and Role Mapping Configuration
-
Enter the name of the SSO group and select the corresponding Appcircle organization you want to map. Ensure the group name is correct.
-
Click Add to map the SSO group to an Appcircle organization. This will automatically link users from the SSO group to the selected organization in Appcircle.
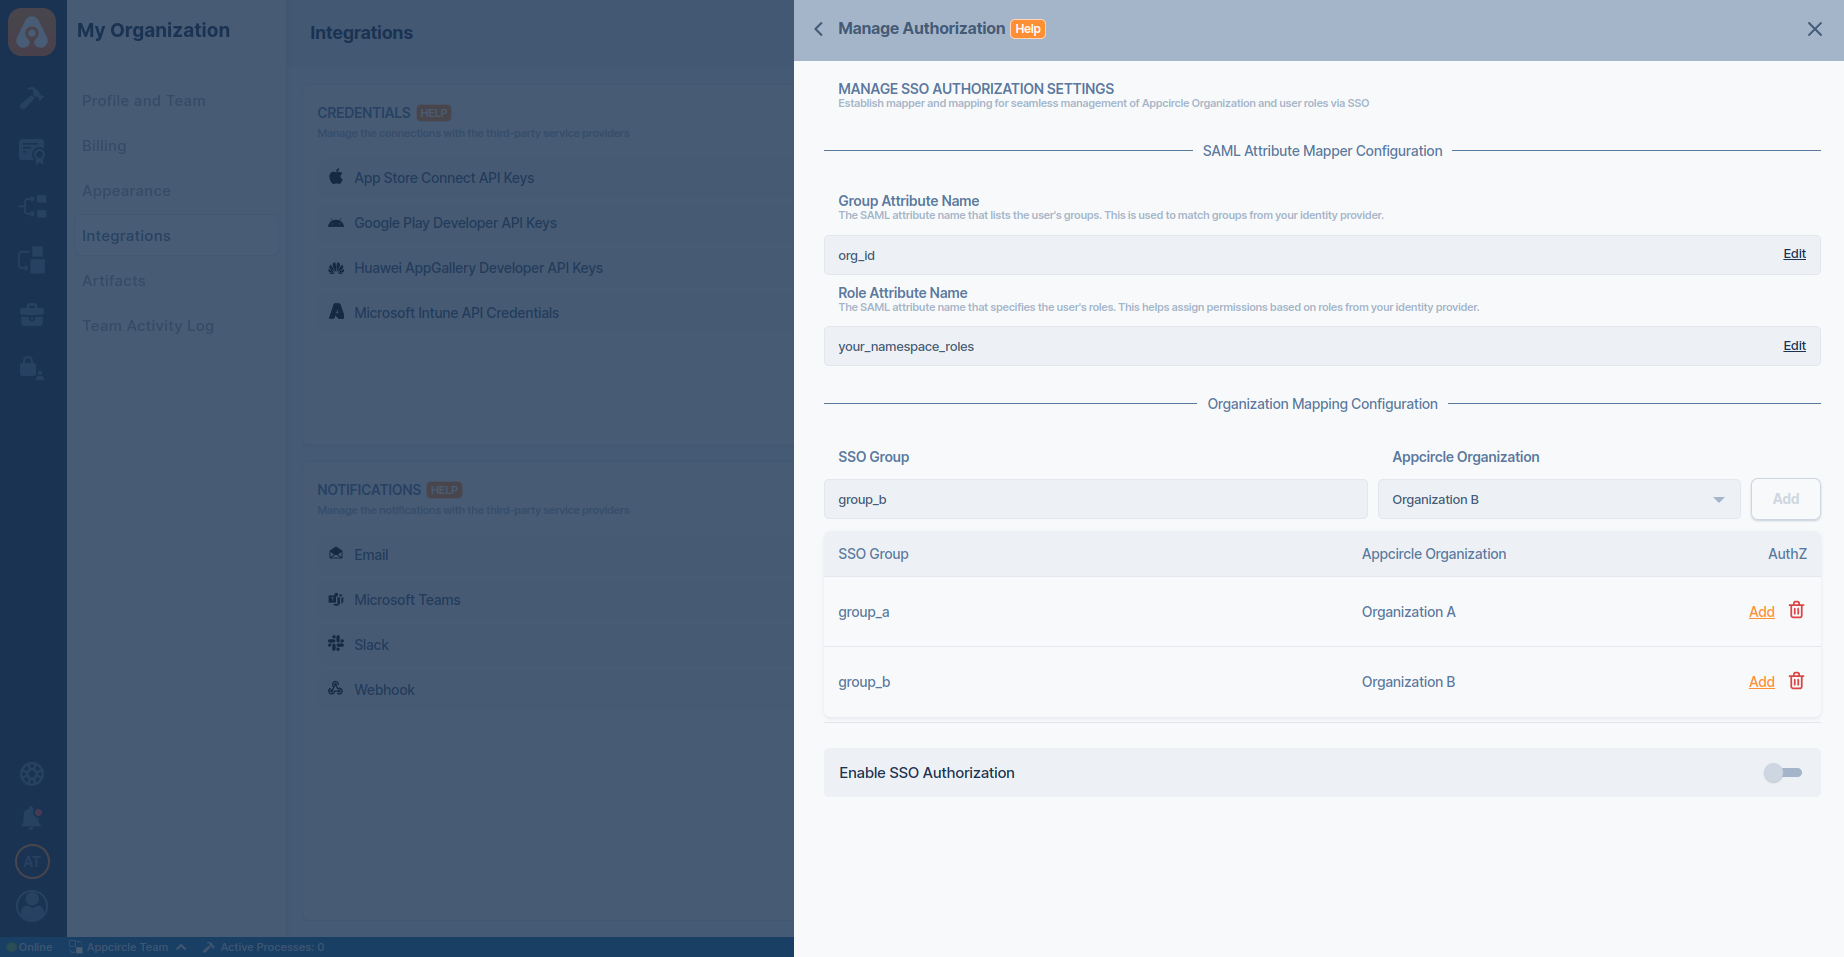
- You can define role mappings for each group mapping. Click the Configure button to set up role mappings.
- Enter the role name and select the corresponding Appcircle roles you want to map. Ensure the role name is correct.
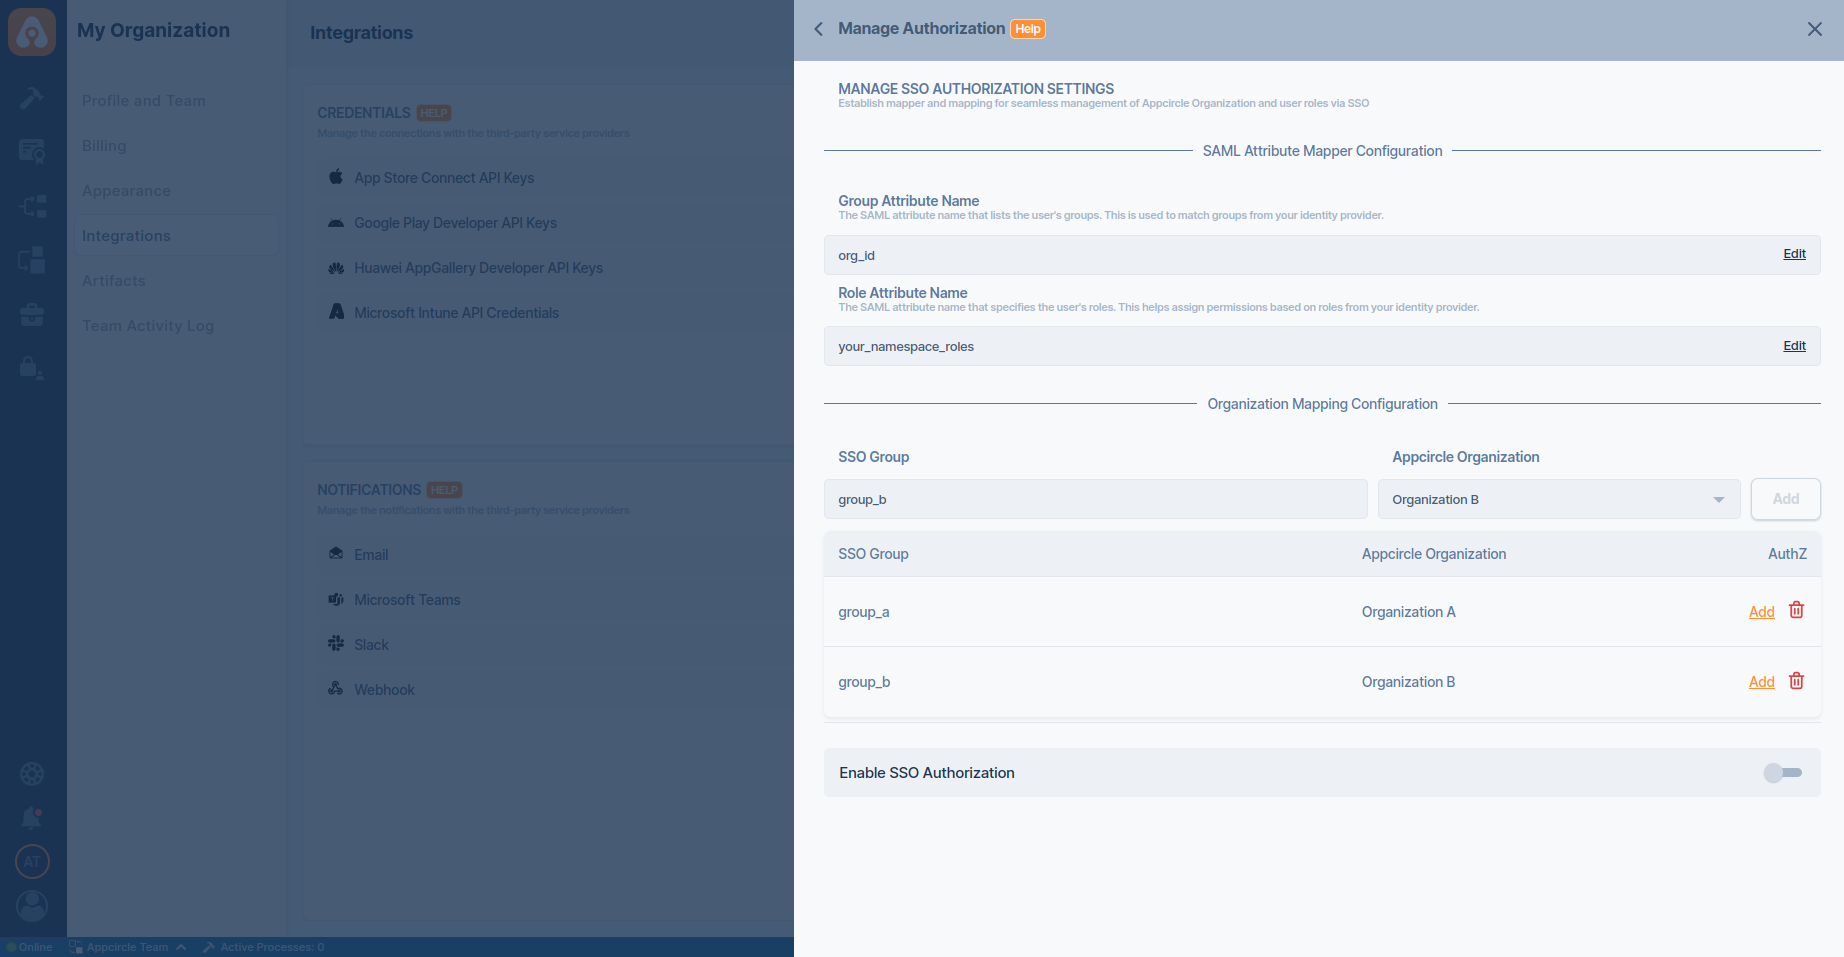
- Finally, enable SSO mapping.
Limitations
- Due to technical limitations, SSO mapping does not support automatic synchronization. Changes such as the removal of a user from the Identity Provider or updates to their groups or roles will only take effect when the user logs in to Appcircle.